

The installation process of 3D embossed plastic wood flooring is as follows:
**1、 Preparation before installation**
1. Material preparation
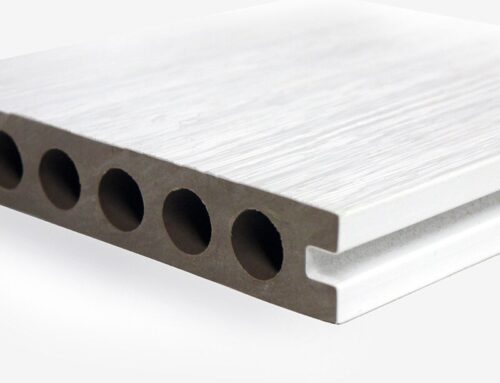
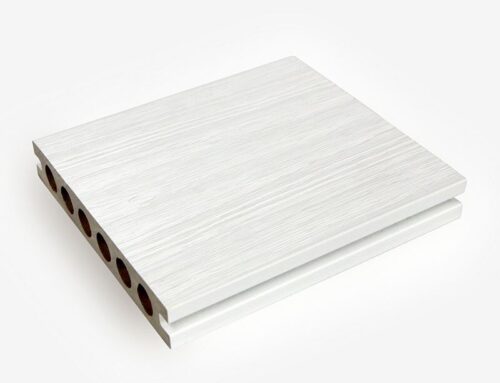
-Prepare a sufficient quantity of 3D embossed plastic wood flooring, calculate the required number of flooring based on the installation area, and consider a certain amount of loss.
-Prepare the necessary accessories for installation, such as keels, buckles, screws, washers, etc.
2. Site preparation
-Clean the installation site to ensure that the ground is flat, dry, and free of debris. If the ground is uneven, it needs to be leveled.
-Measure the size of the installation site and determine the direction and layout of the floor installation.
3. Tool preparation
-Prepare installation tools such as chainsaws, hand saws, screwdrivers, wrenches, hammers, level gauges, etc.
**2、 Install the keel**
1. Determine the spacing between the dragon bones
-Determine the spacing of the keel based on the thickness and load-bearing requirements of the floor. Generally speaking, the spacing between keels is 30-40 centimeters.
2. Install the keel
-Pop up the installation position line of the keel on the ground, and then use screws or nails to fix the keel on the ground. Ensure that the keel is securely installed and has consistent levelness.
**3、 Laying flooring**
1. Pre laid flooring
-Pre lay the 3D embossed plastic wood flooring, adjust the color and texture of the flooring to achieve the best visual effect. At the same time, check if the size of the floor is appropriate, and if necessary, make cutting adjustments.
2. Install flooring
-Starting from a corner of the installation site, align the groove of the floor with the buckle on the keel, and then gently press down to tightly connect the floor with the keel. Use a screwdriver or wrench to secure the floor to the keel, ensuring that the floor is securely installed.
-Lay the subsequent floors in sequence, paying attention to the tight joints between the floors without obvious gaps. You can use a level to check the flatness of the floor. If there are any unevenness, you can adjust the height of the keel or use shims for adjustment.
**4、 Closing work**
1. Clean up the site
-After installation, clean up the site and remove any garbage and debris generated during the installation process.
2. Inspection and acceptance
-Check the installation quality of the floor, including flatness, joint gaps, and firmness of fixation. If there are any problems, adjust and repair them in a timely manner.
-After passing the acceptance inspection, subsequent decoration and use can be carried out.
It should be noted that the installation method of 3D embossed plastic wood flooring may vary depending on the brand and model. Before installation, carefully read the product manual and follow the requirements in the manual. At the same time, safety should be taken into account during the installation process to avoid accidents.


Leave A Comment