

The installation process of **WPC (Wood Plastic Composite) decking** involves several steps, from preparation to finishing touches. Below is a detailed guide to help you through the installation process:
### **1. Planning and Preparation**
– **Check Local Codes**: Before starting, check local building codes and regulations regarding decking installation to ensure compliance.
– **Design and Measurements**: Plan your deck layout, considering factors such as dimensions, shape, and the positioning of posts and joists. Measure the area accurately and mark the layout on the ground.
– **Materials and Tools**: Gather all necessary materials and tools, including:
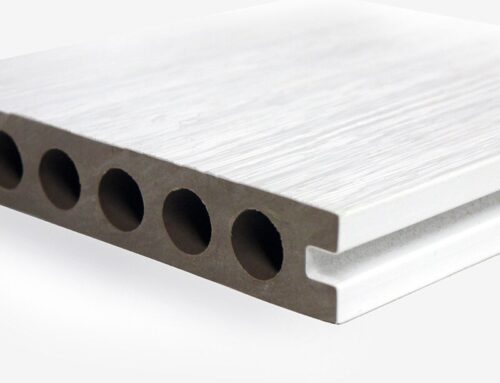
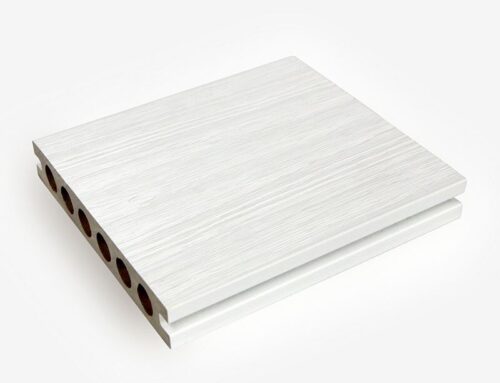
– WPC decking boards
– Joists (typically pressure-treated wood)
– Fasteners (screws, hidden clips)
– A circular saw or miter saw
– Drill
– Level
– Measuring tape
– Chalk line
– Safety goggles and gloves
—
### **2. Prepare the Ground and Substructure**
– **Clear the Area**: Remove any grass, weeds, or debris from the installation area. Excavate if necessary to achieve the desired height.
– **Install a Gravel Base**: If required, lay a gravel base for drainage. This helps prevent moisture buildup underneath the decking.
– **Set Up the Joists**:
– Install the joists to create a stable framework. Joists should be spaced according to the manufacturer’s recommendations, usually 12 to 16 inches apart.
– Use a level to ensure they are even, and secure them with appropriate fasteners.
—
### **3. Acclimation**
– **Acclimate the WPC Boards**: Allow the WPC decking boards to acclimate to the local climate for 48-72 hours before installation. This helps prevent expansion or contraction after installation.
—
### **4. Install the Decking Boards**
– **Starting Edge**: Begin installing the decking boards from one edge of the deck, preferably the side that is most visible.
– **Lay the First Board**:
– Position the first board perpendicular to the joists.
– Leave a gap of about 5-8 mm between the board and any walls or structures to allow for expansion.
– **Fastening Options**:
– **Hidden Fasteners**: If using hidden fasteners, follow the manufacturer’s instructions for spacing and placement. Typically, clips are attached to the joists, and the boards are inserted into these clips.
– **Screws**: If using screws, drill pilot holes to prevent splitting, and fasten the screws down through the board into the joists.
– **Continue Laying Boards**:
– Continue laying boards, ensuring they are straight and aligned. Use a chalk line for guidance if necessary.
– Leave expansion gaps between the boards (usually about 5-8 mm) to allow for natural expansion and contraction.
—
### **5. Cutting Boards**
– **Cutting for Fit**: If needed, use a circular saw or miter saw to cut boards to fit around edges, curves, or obstacles. Always measure and mark before cutting.
– **Sealing Cuts (if necessary)**: Some manufacturers recommend sealing the ends of cut boards with a compatible sealant to protect against moisture.
—
### **6. Finishing Touches**
– **Trim Boards and Borders**: If desired, install trim boards or borders around the edges of the decking for a finished look. Use appropriate fasteners for these as well.
– **Final Inspection**: Inspect the entire deck for any loose boards or fasteners. Make sure everything is secure and properly aligned.
—
### **7. Cleaning and Maintenance**
– **Clean Up**: Remove any debris, sawdust, or leftover materials from the installation area.
– **Post-Installation Care**: Follow the manufacturer’s recommendations for cleaning and maintenance after installation. Avoid heavy loads on the decking for the first few weeks to allow it to settle.
—
### **8. Safety Considerations**
– **Personal Protective Equipment (PPE)**: Always wear safety goggles and gloves while cutting and installing the decking to protect against splinters and debris.
– **Lifting Techniques**: When handling large boards, use proper lifting techniques to avoid injury.
—
### **Summary**
The installation of WPC decking involves careful planning, preparing the ground and substructure, acclimating the boards, laying and fastening the decking, and completing finishing touches. Following these steps ensures a durable and attractive decking solution that can last for many years with proper care. Always refer to the manufacturer’s installation guidelines for specific recommendations related to the product you are using.


Leave A Comment